If you’re looking to Install Bricks Core Framework Template Pack Like a Pro – Check BricksLibraryPlus Tutorial Here!
the video titled “How to Import Bricks Core Framework Templates Pack Easily (Step-by-Step Tutorial)” provides a comprehensive guide.
I’ll show you how to quickly and easily import our Bricks Templates Pack using Bricks Builder’s built-in feature, just a few simple clicks. Let’s get started!
🧰 Requirements
Before you install the template pack! please make sure that Bricks Builder is activated on your website.✅ Bricks Builder installed and activated
✅ The Bricks Library Plus Layouts Pack JSON file (downloaded from our website)
✅ Core Framework Plugin
✅ WordPress Admin access
This guide will show you how to easily install a complete Bricks template pack
Step 1
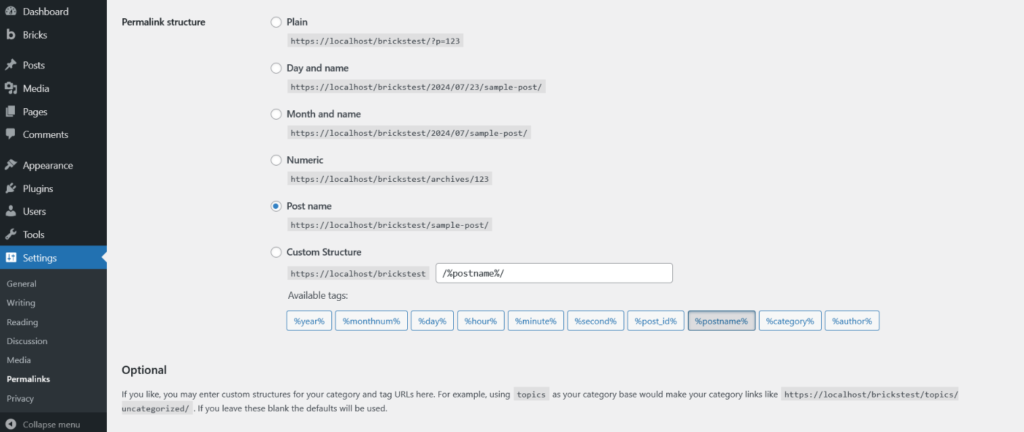
First, you need to set your website’s permalink settings. To do this, go to your WordPress dashboard,
Step 1.1 -> navigate to Settings → Permalinks, select Post name, and click Save Changes. Here’s how you can update the permalink settings
Step 2
Step 2.1 ->Next, go to the WordPress Dashboard, navigate to Plugins → Installed Plugins, locate “Core Framework,” and click “Activate.”

Open “Bricks Flooring Services Layouts Pack” Folder and see “CoreFramework” Folder and Select “CoreFrameworkProject.core” file.[ Downloaded Product Folder Structure ]
Step 2.2 ->Now Go to Dashboard > Core Framework > Manage project > Click Browse files Button

Step 2.3 -> Select “CoreFrameworkProject.core” file on Imports Options and kindly Click on “Save Changes Button” to Save Changes.
That’s it! You’ve successfully imported the Core Framework plugin settings.
Step 3
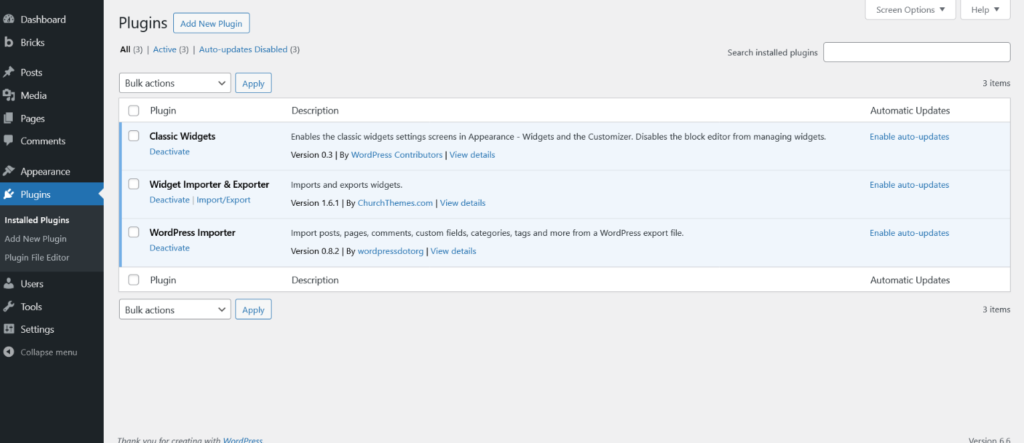
Now you’ll need to install three required plugins to import the demo data. Classic Widgets, Widget Importer & Exporter, and WordPress Importer — all available from the WordPress repository.
Step 3.1 -> Go to Plugins and add below plugins
Step 4
How to Install XML File ?
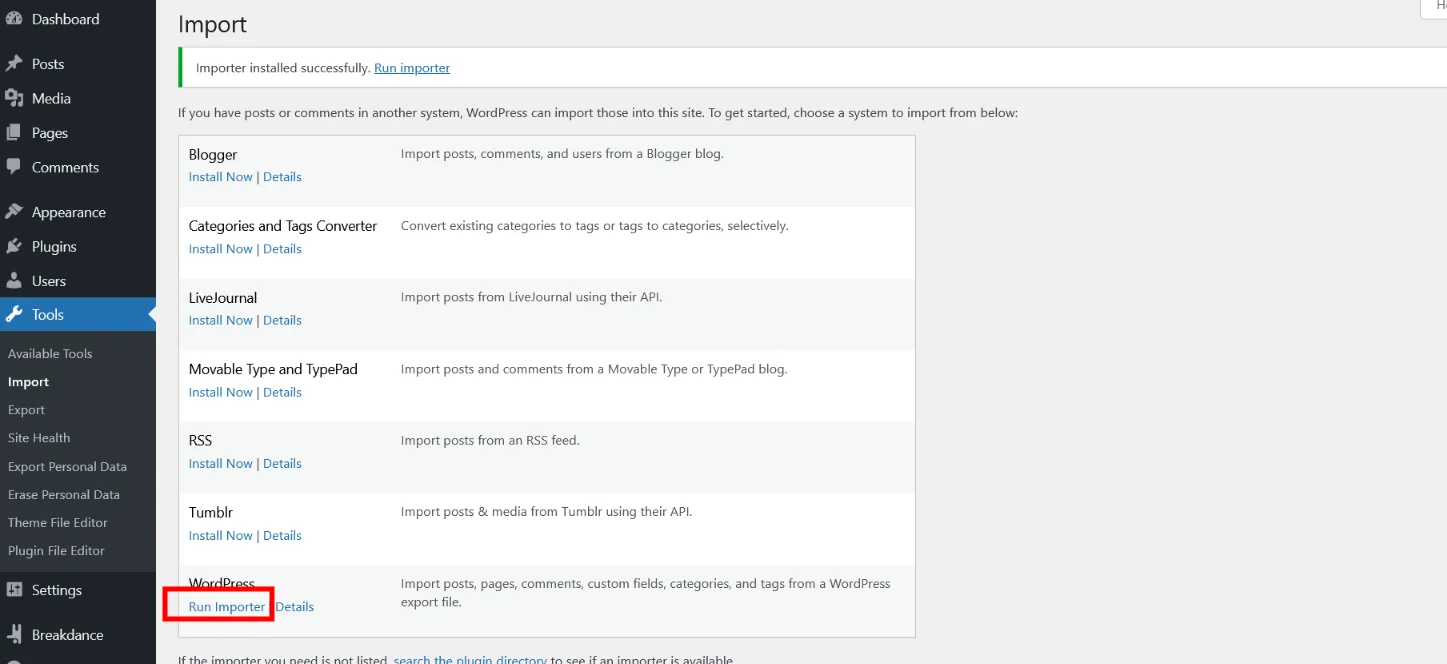
Step 4.1 -> Go to Dashboard > Tools >Import -> WordPress -> Install Now
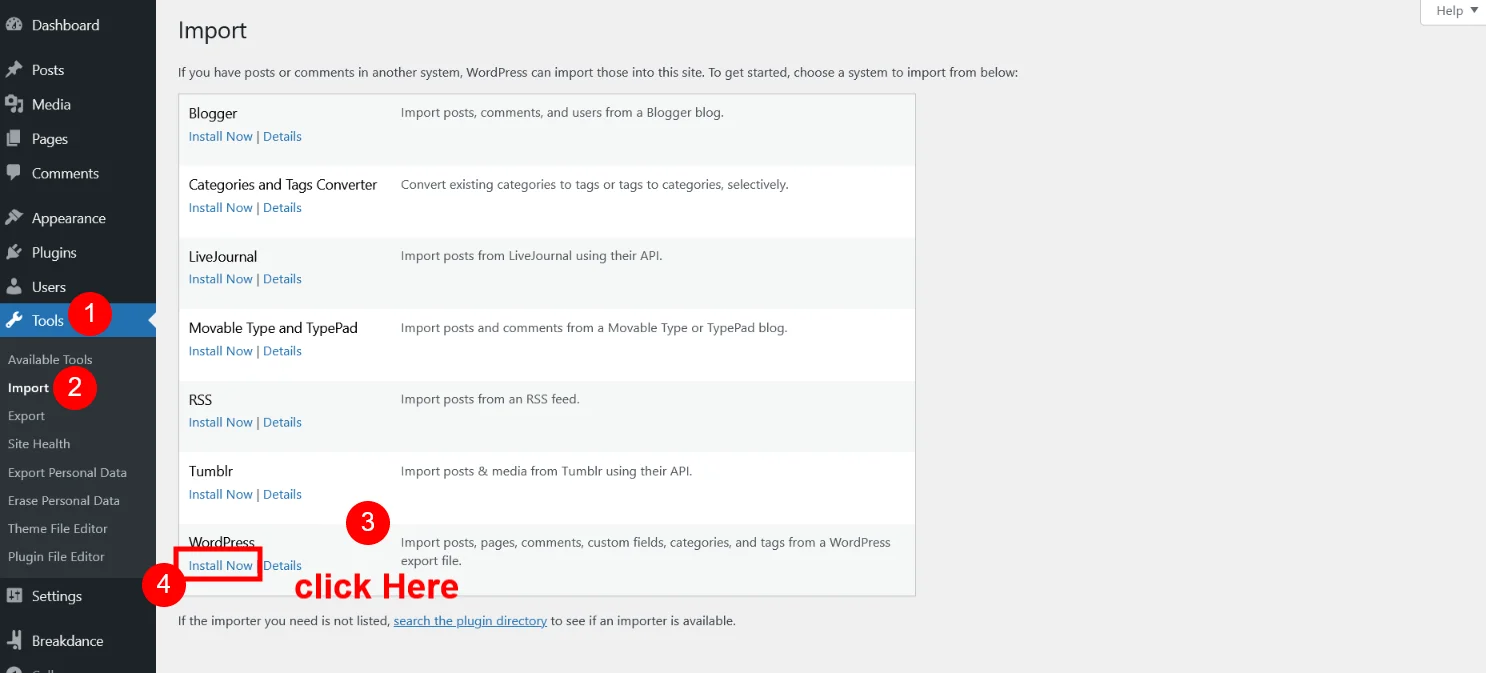
Step 4.2 -> After Install Click on “Run Importer”
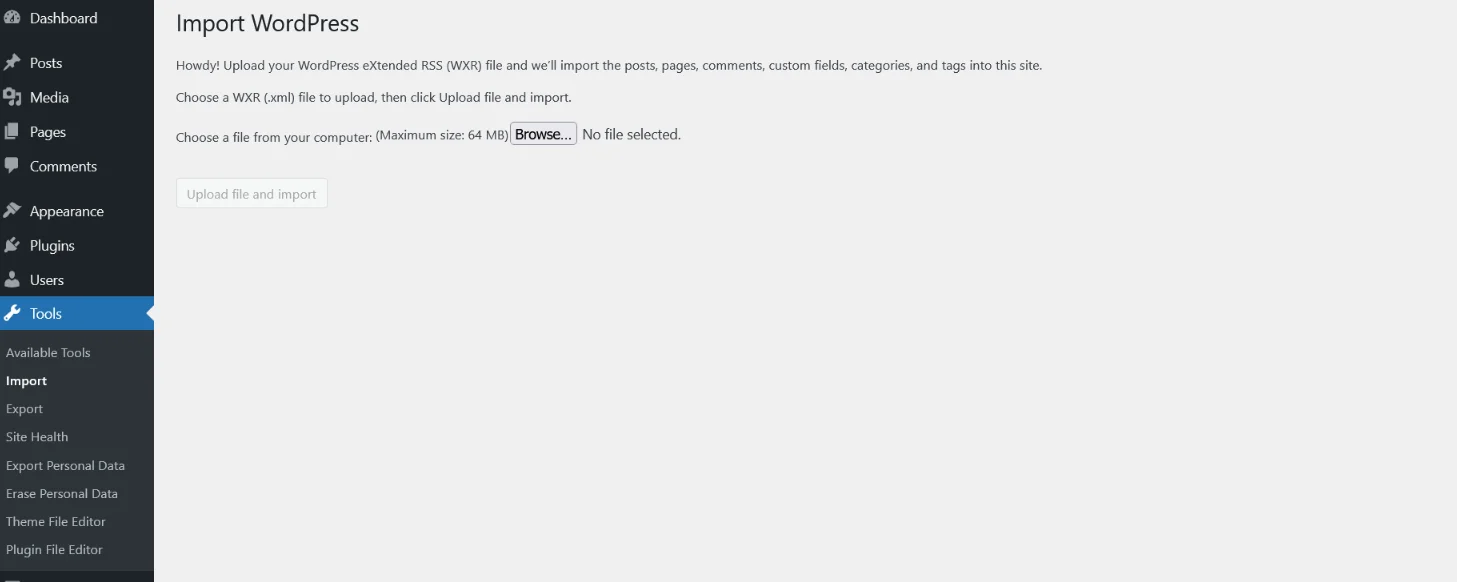
Step 4.3 -> Set XML file to imports data
Step 4.4 -> Go to “Bricks Flooring Services Template Pack” Folder and see “XML Files” Folder

Once you open XML Files Folder you can see “bricks-flooring-services-template-pack.xml ” file for upload to wordpress tools options. folder and you can see below files

Step 4.5 -> Open “Bricks Flooring Services Layouts Pack” Folder and see”XML” Folder and select “bricks-flooring-services-layouts-pack.xml” file [ Downloaded Product Folder Structure ]
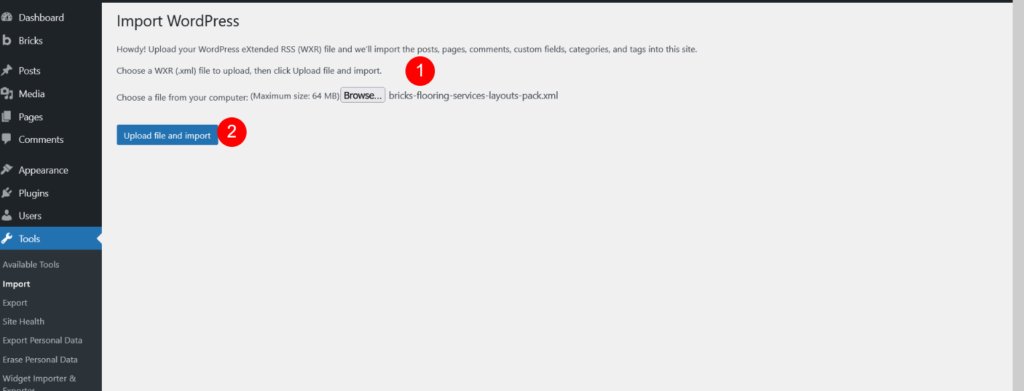
Step 4.6 -> Click On “Submit” Button
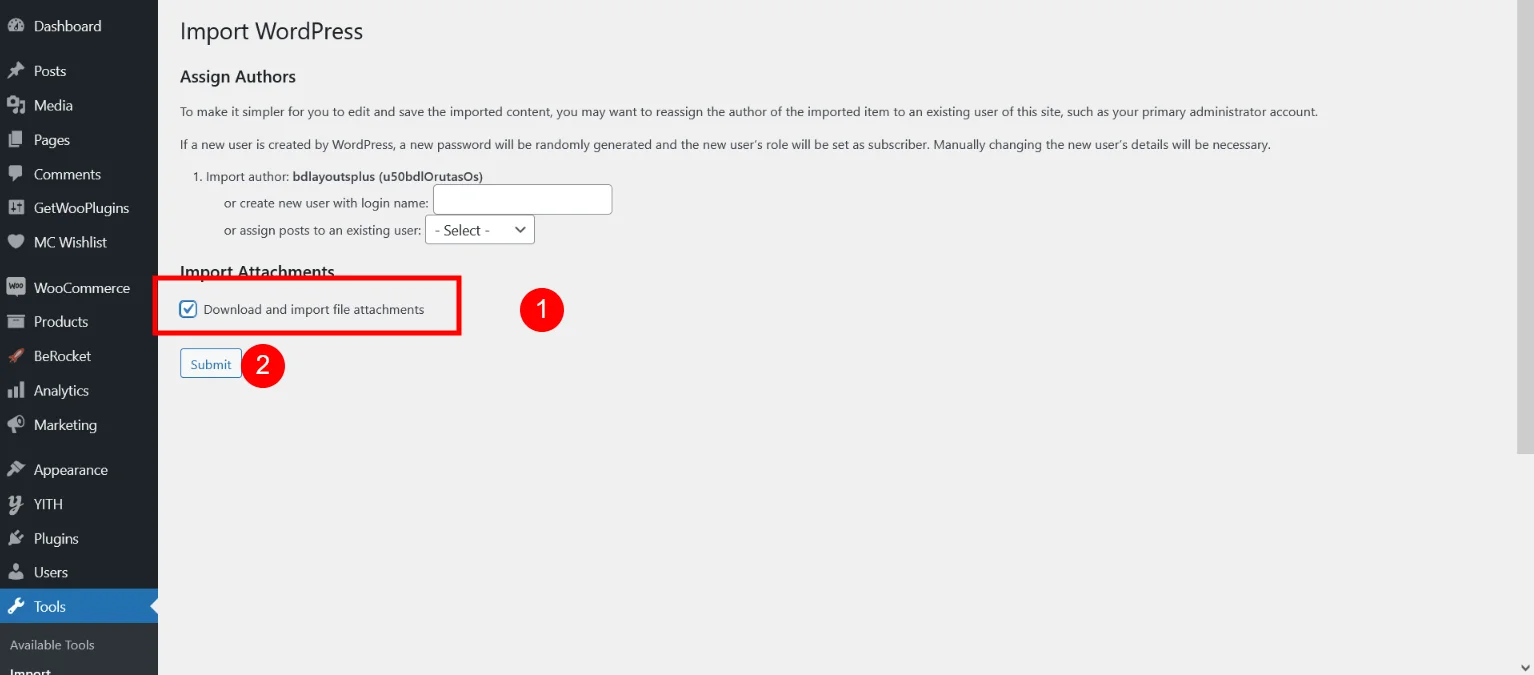
Now XML Data is Imported.
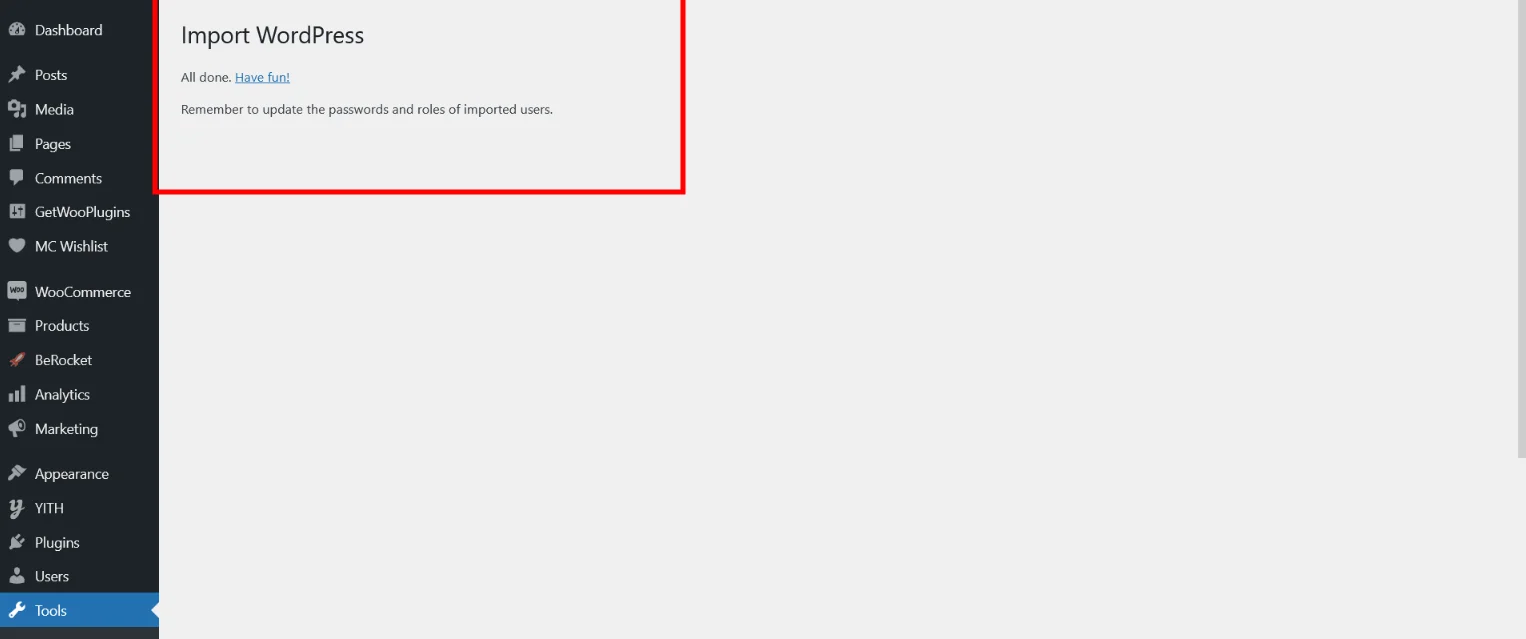
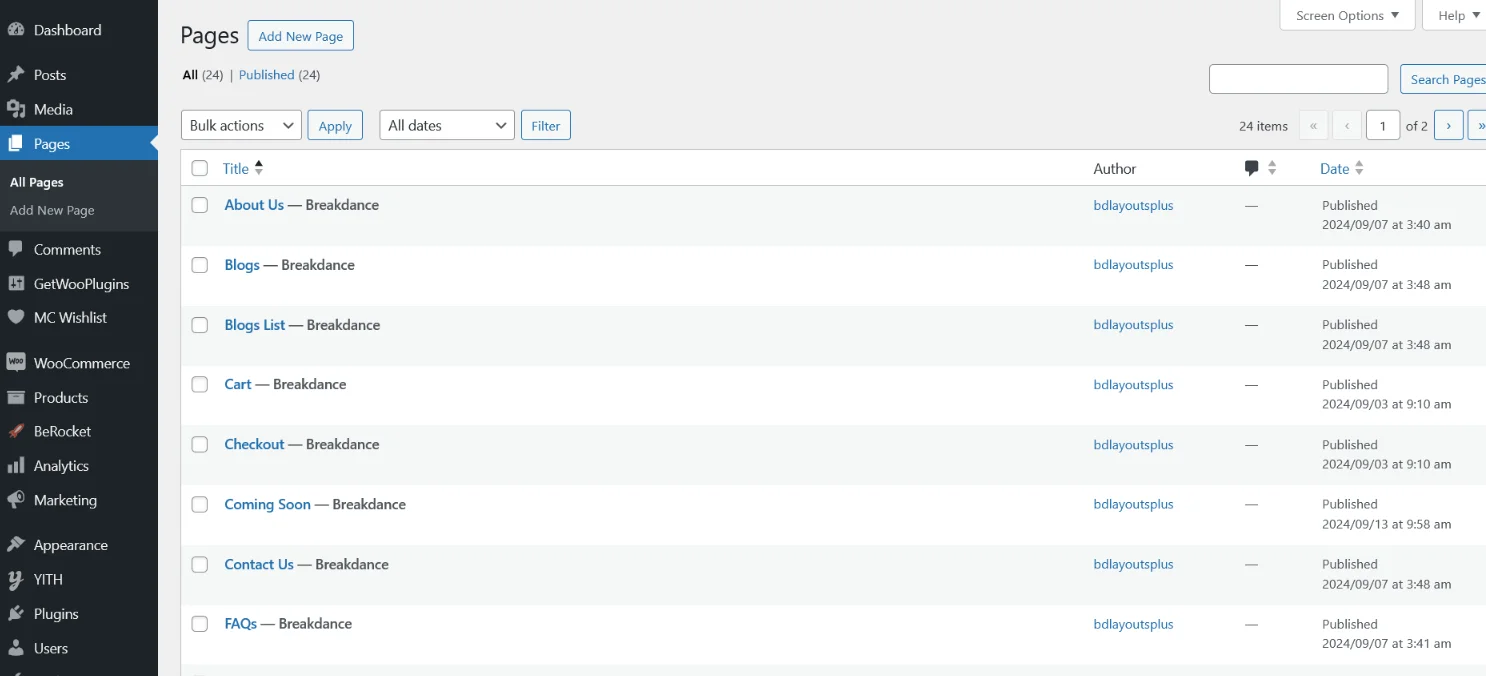
After click on submit it will take few minutes. once data import successfully go to pages and you can see all pages an templates also.
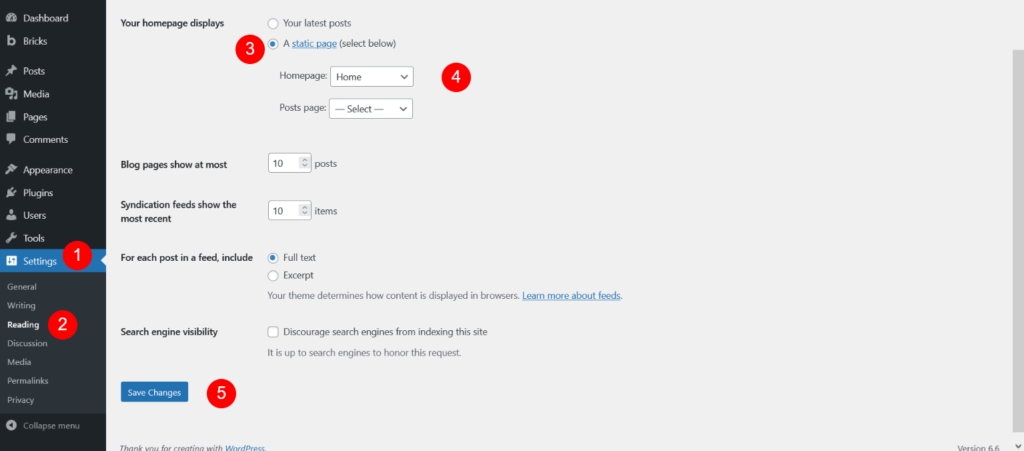
Go to Settings -> Reading and set Home Page
Now import blog detail page sidebar widget data
Step 5
Open “Bricks Flooring Services Layouts Pack” Folder and see “Widget” Folder and open “bricks-flooring-services-layouts-pack-widgets.wie” file [ Downloaded Product Folder Structure ]
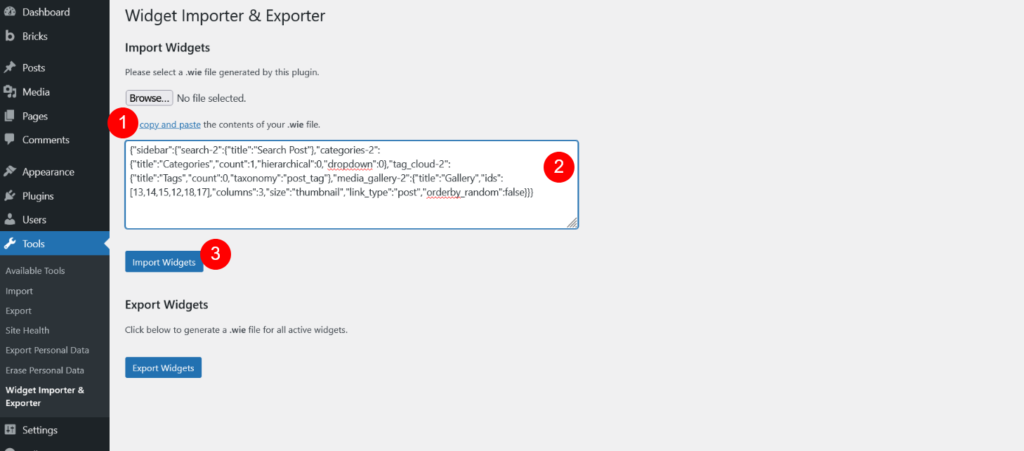
Step 5.1 -> Go to Dashboard > Tools > WordPress Importer & Expoter > Import -> Imports Widget -> Select Widget File or Copy code as mentions below image
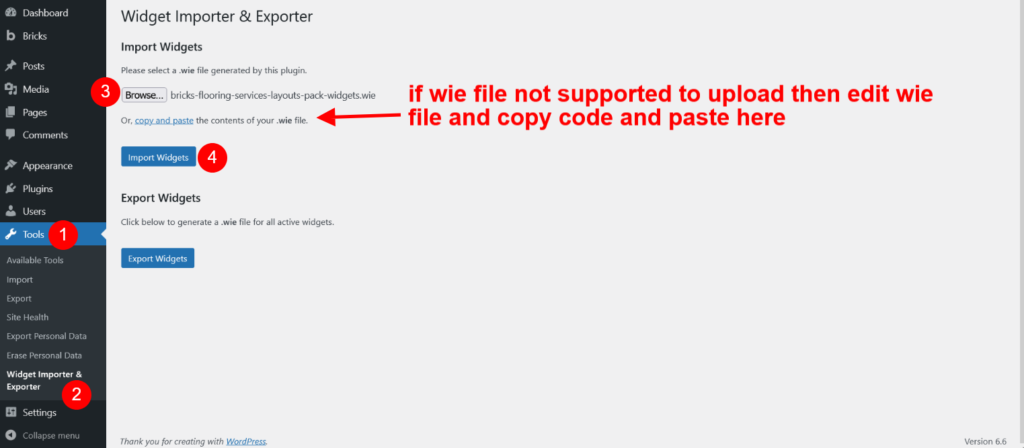
Step 5.2 -> After Copy code or upload widget file Click on “Import Widgets”
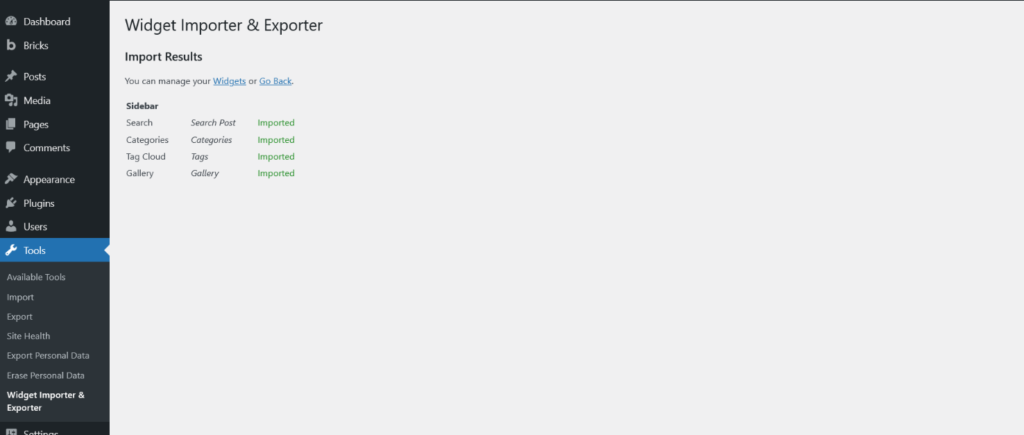
Step 5.3-> If widget data install successfully then you will get below screen
Step 6
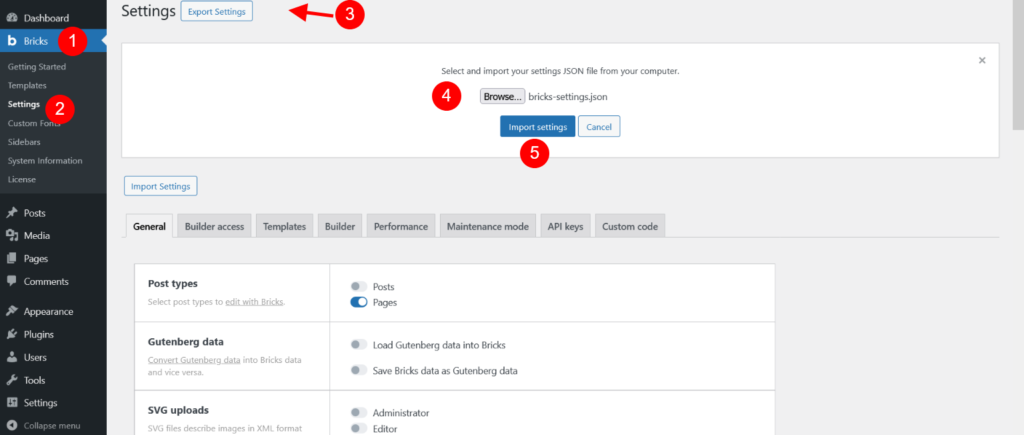
Go to Bricks -> Settings and see Import Settings button
Step 6.1 -> Open “Bricks Flooring Services Layouts Pack” Folder and see “Bricks Settings” Folder and Seelct “bricks-settings.json” file [ Downloaded Product Folder Structure ]
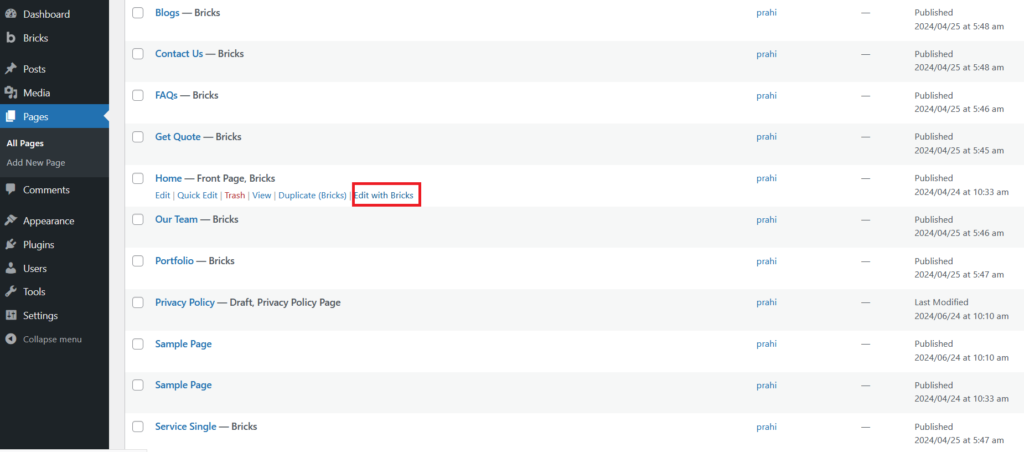
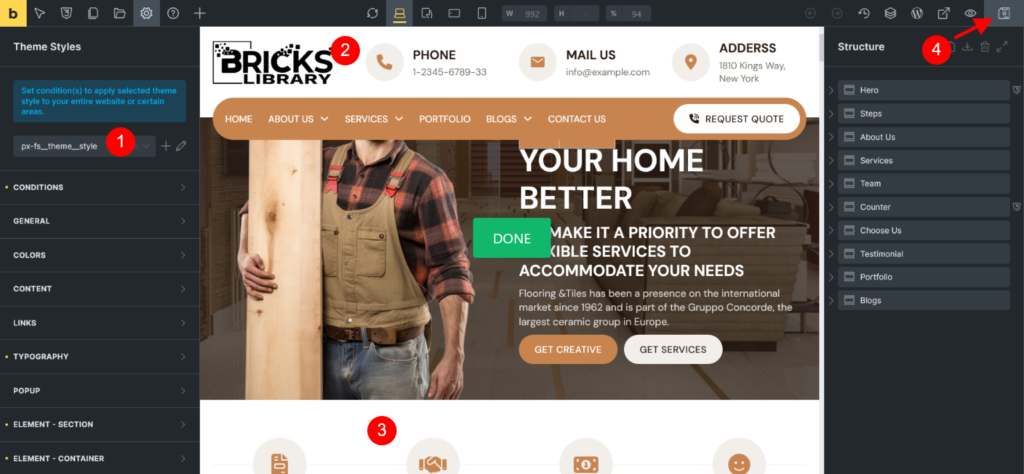
Step 6.2 -> Go to Pages and Open Home Page with bricks
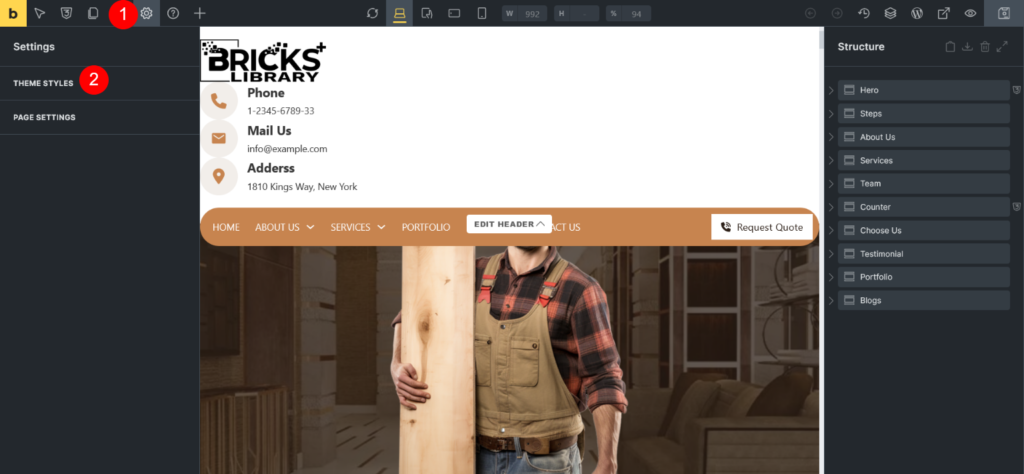
Step 6.3 -> Go to Theme Styles and click on ‘+’ Icon

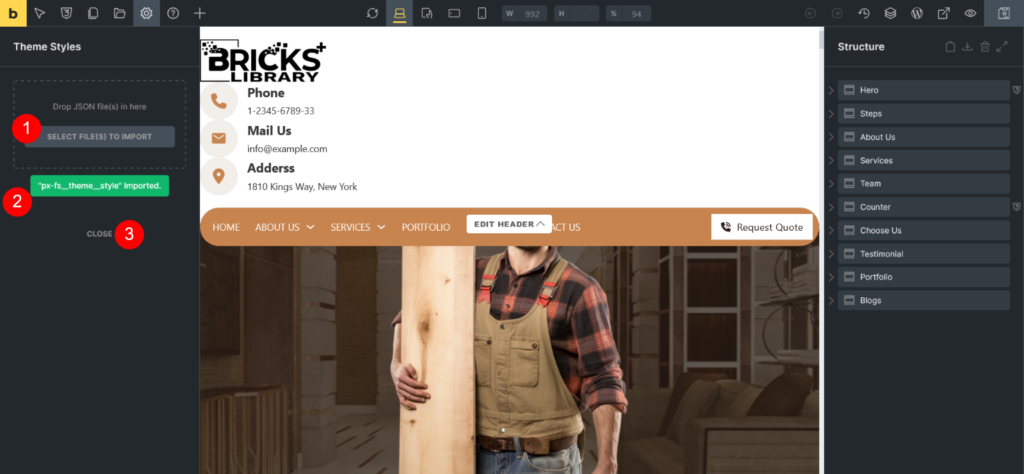
Step 6.4 -> Now Click on Import Icon
Step 6.5 -> Open “Bricks Flooring Services Layouts Pack” Folder and see “Theme Global” Folder and Select “bricks-theme-style-px_fs__theme__style.json” file [ Downloaded Product Folder Structure ]/h6>
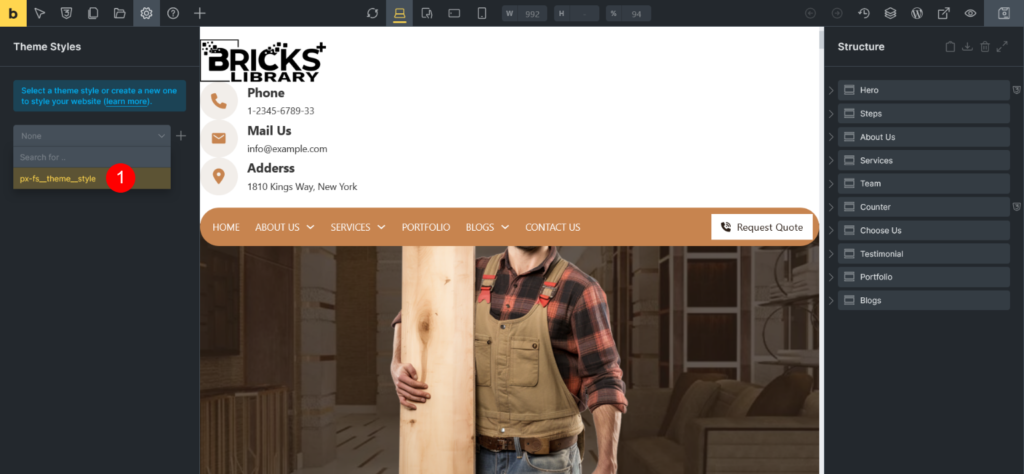
Step 6.6 -> Once file is imported then select that global style and save
Now in theme style go to color tab
Step 7
Step 7.1 ->Now in theme style go to color tab.Open primary color and see ‘+’ Icon see Number 4
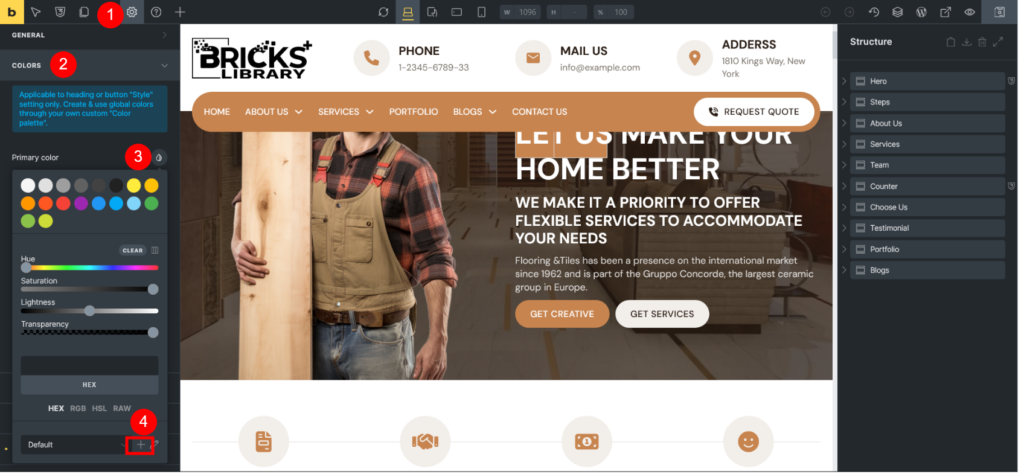
Step 7.2 -> Click on Import Icon
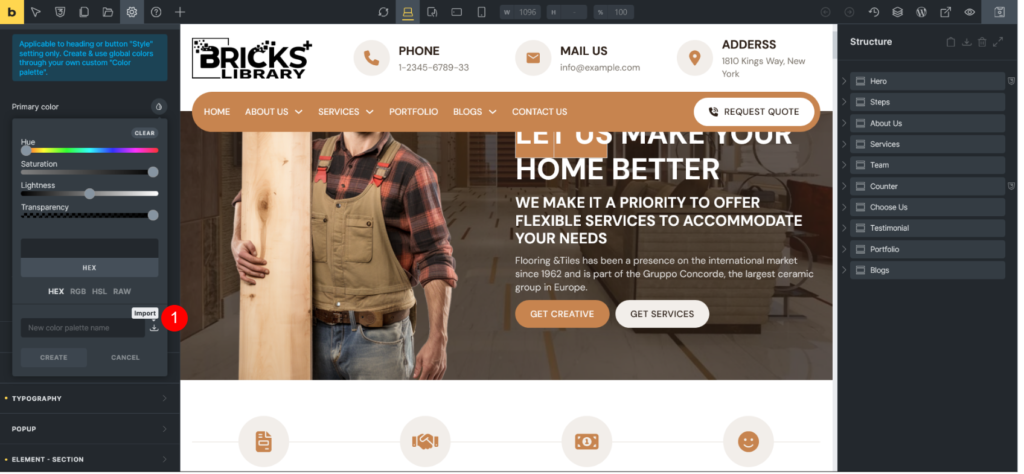
Step 7.3 -> Open “Bricks Flooring Services Layouts Pack” Folder and see “Color Palette” Folder and Select “bricks-color-palette-px_fs__color__set.json” file [ Downloaded Product Folder Structure ]
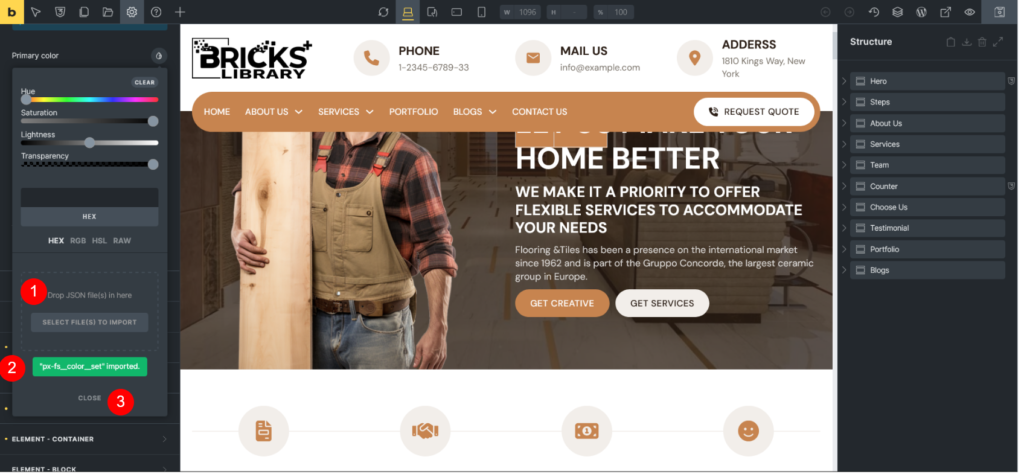
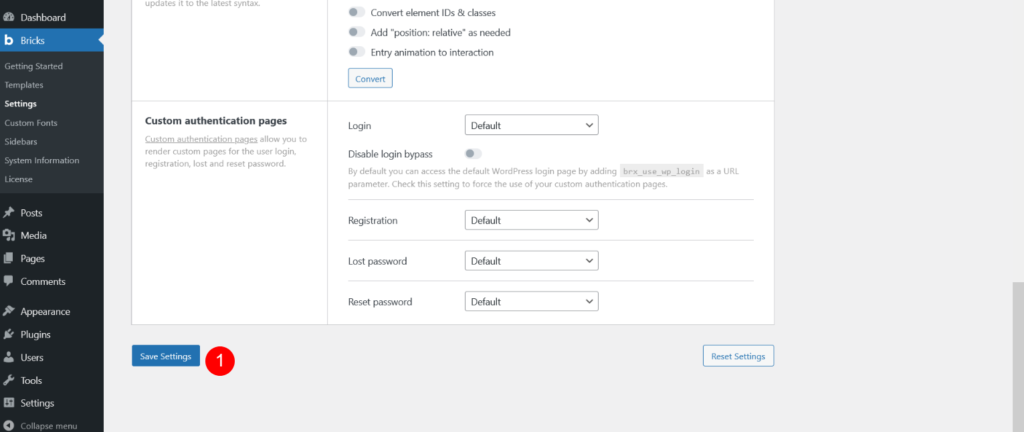
Now Save and close your website is ready.
Add css class default & variable file from Css Class Folder
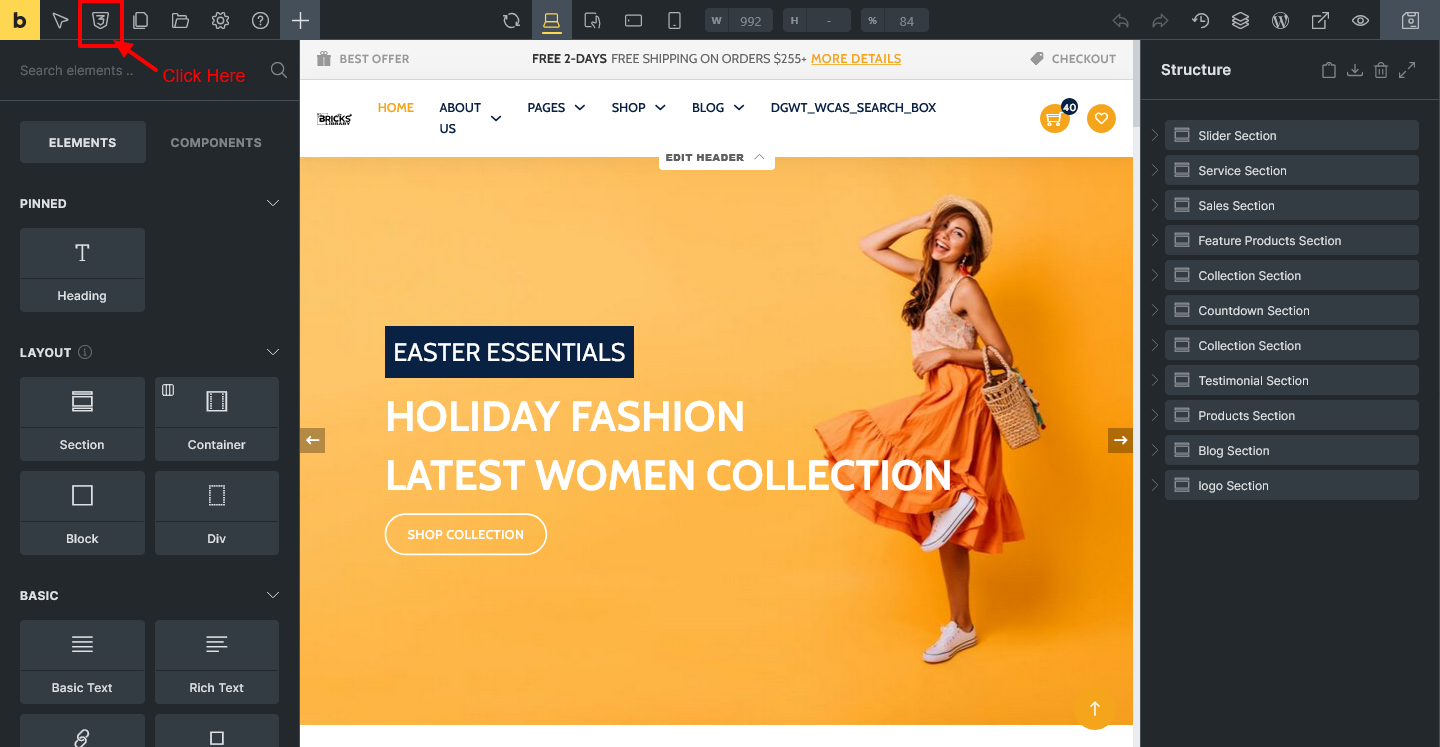
Step 8
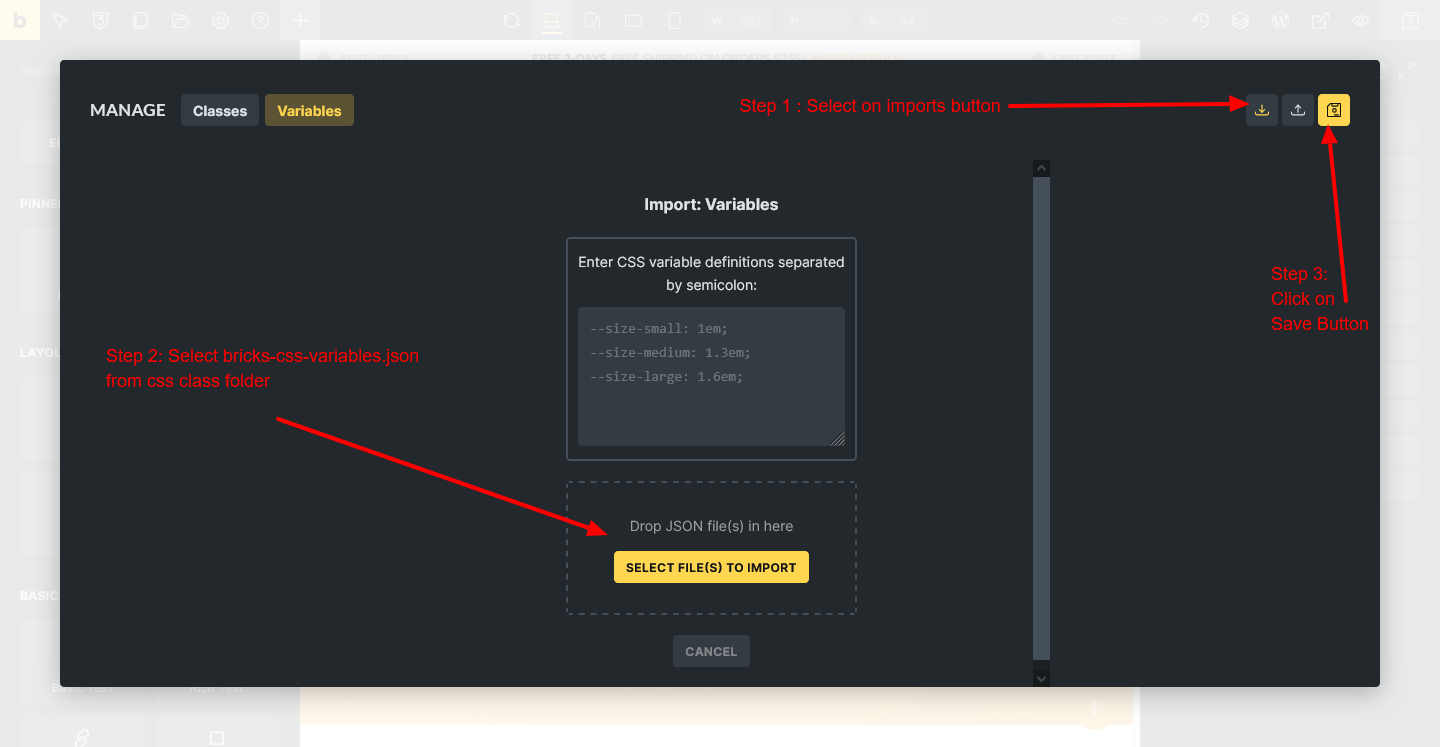
Step 8.1 ->Click on classes/variable button as mention below image
Step 8.2 -> -> Now click on Classes tab and Click on Import Icon
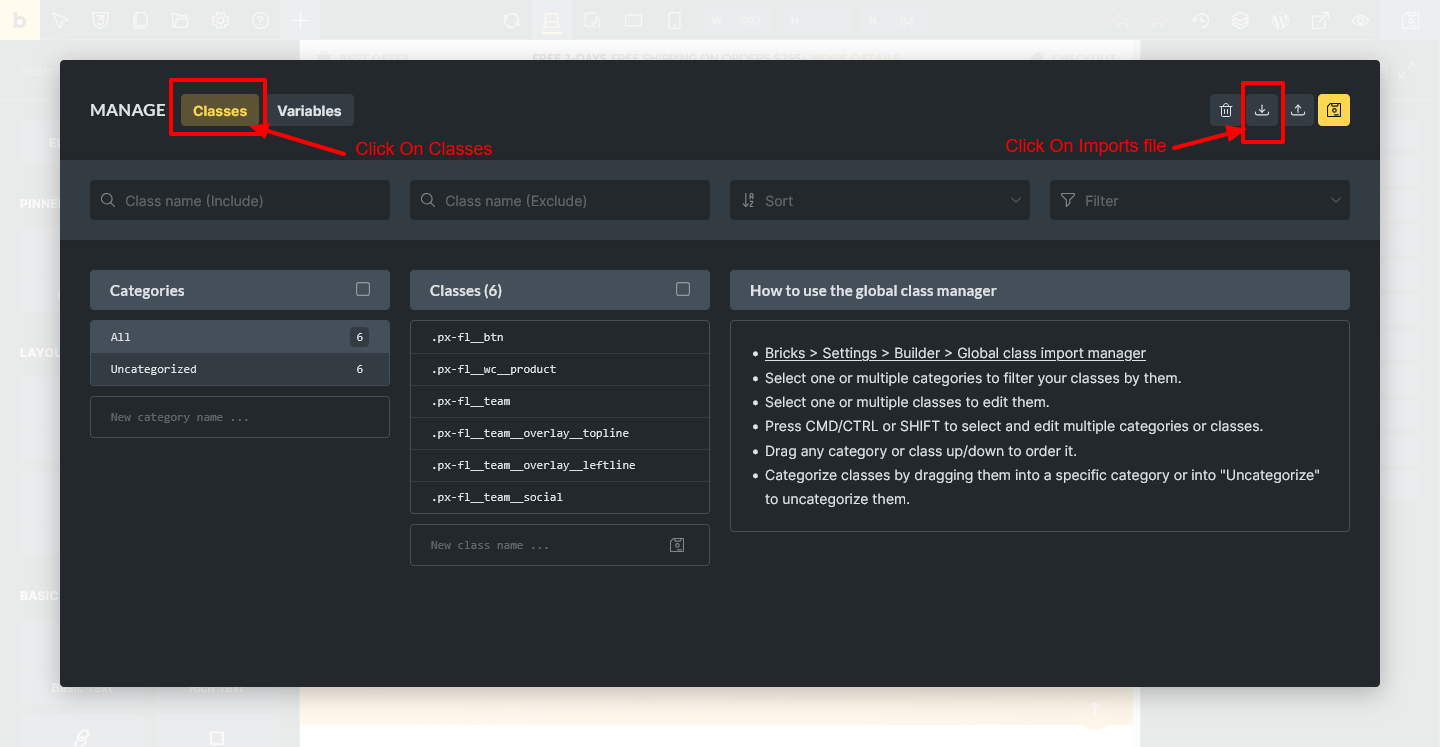
Step 8.3 -> Open “Bricks-Flooring-Services-Template-Pack” Folder and see “Css Class” Folder and Select “bricks-css-classes.json” file [ Downloaded Product Folder Structure ]
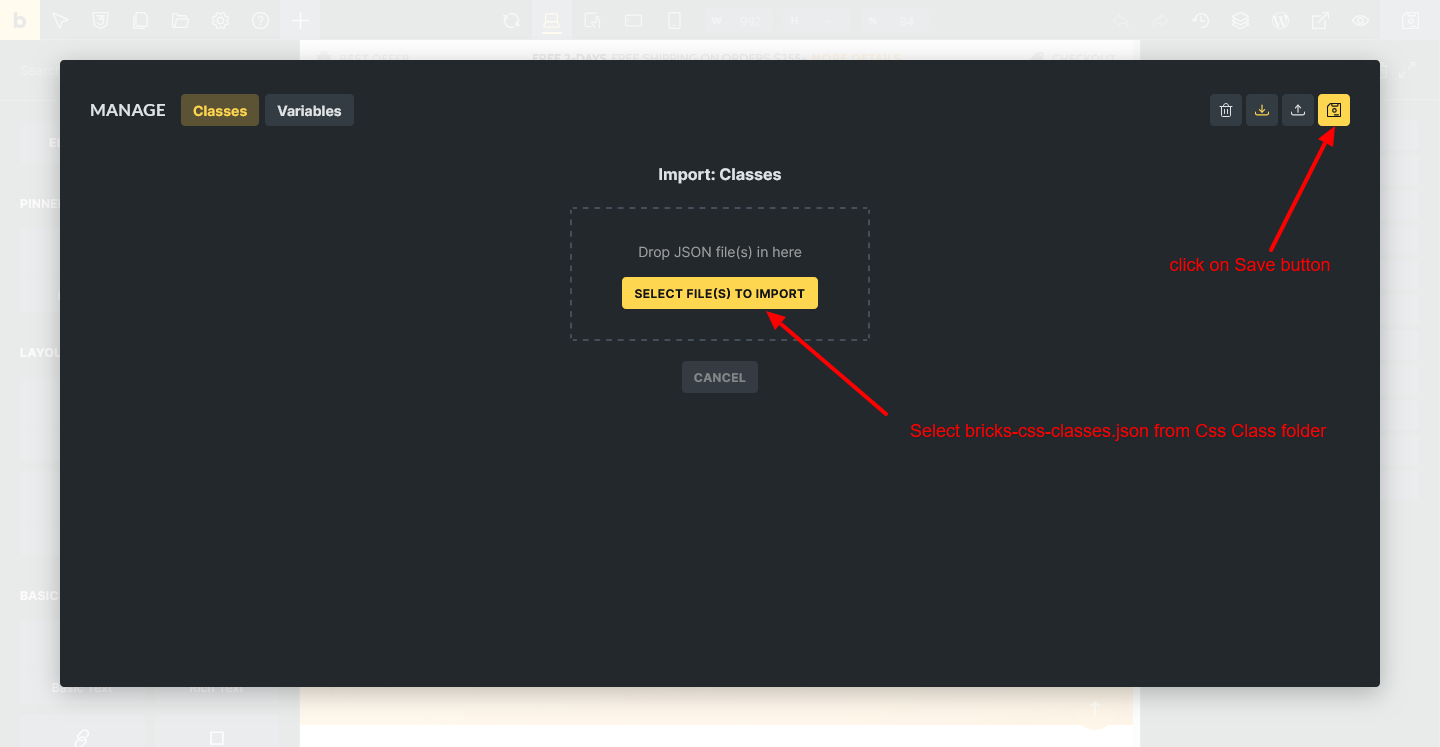
Now Save.
Step 8.4 ->Now click on variable tab and Click on Import Icon
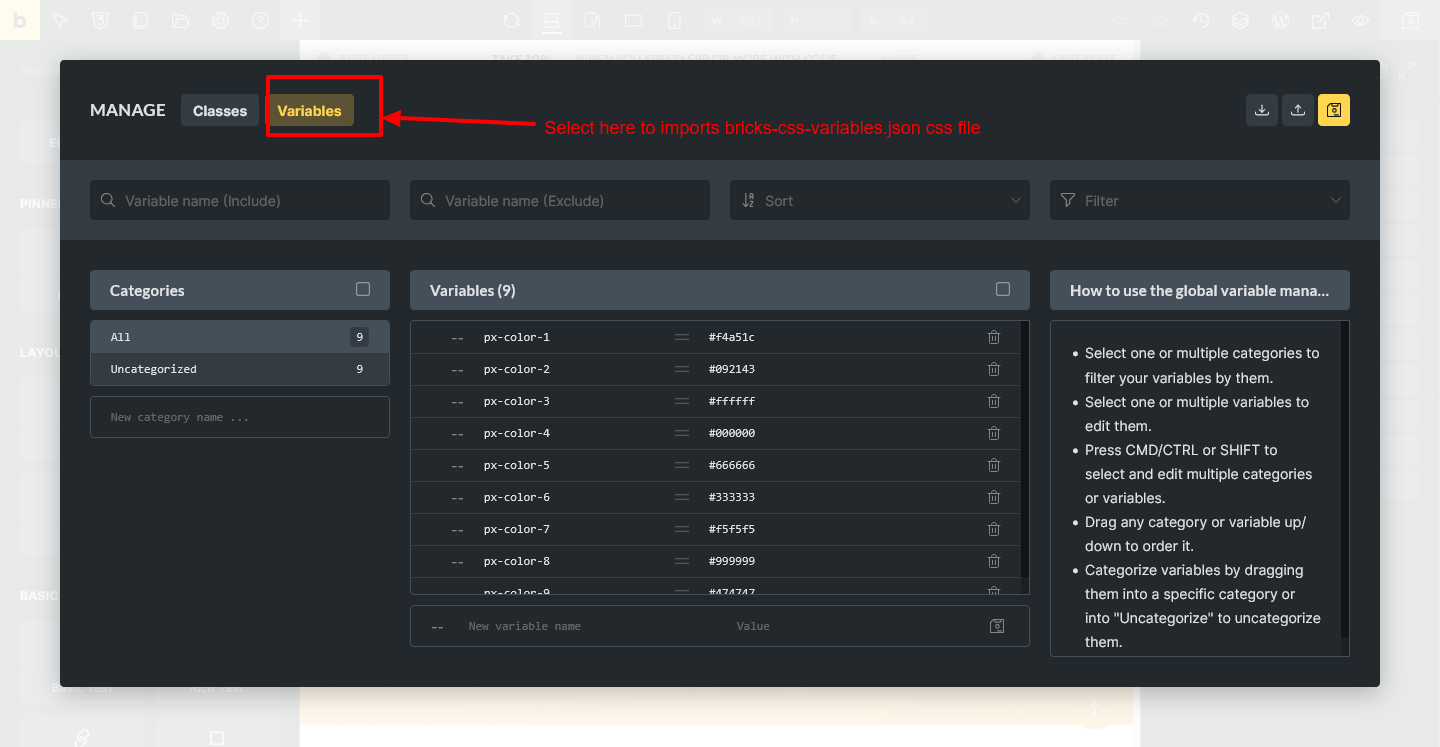
Step 8.5 -> Open “Bricks-Flooring-Services-Template-Pack” Folder to see “Css Class” Folder and Select “bricks-css-variables.json” file [ Downloaded Product Folder Structure ]